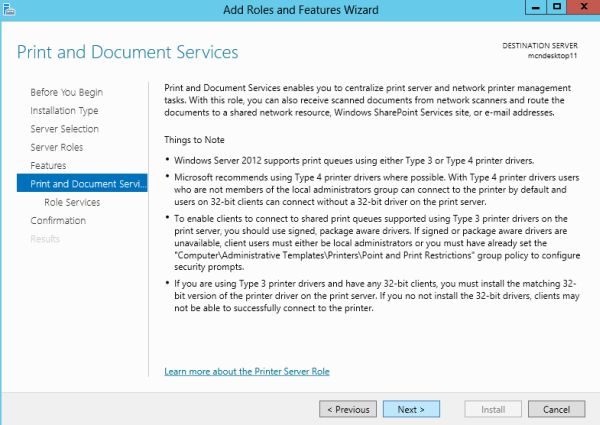
How to Configure the Print Server on Windows Server 2012

Introduction
In my previous article you learned How to Install the Print Server in Windows Server 2012. Today's article continues from that article. Today you will learn how to install a printer on Windows Server 2012.

Step 1
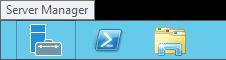
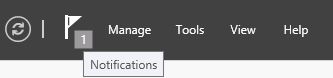
After the successful installation of the Print Server go to the "Tools Menu" provided at the upper right hand corner.
prnt8.jpg
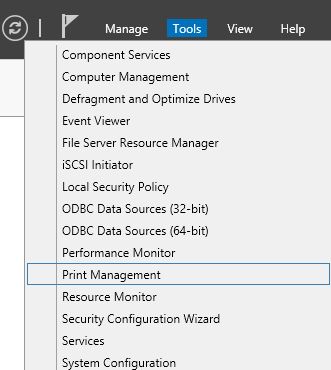
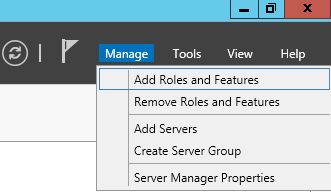
In the Tools Menu go to "Print Management" and click on it.

Step 2
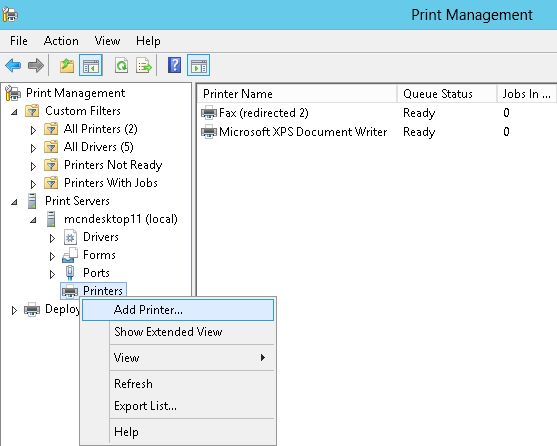
In the Print Management Window go to the "Print Servers" option and expand it. It will expand to show your Print Server, again expand this and you will find a "Printers" option available at the bottom of this Print Server. Right-click on the "Printers" option to "Add Printer".
print9.jpg

Step 3
Now the Printer Wizard will be opened, first you must select the Installation Method. Click on second option i.e. "Add a TCP/IP or Web Services Printer by IP Address or Host Name".
print18.jpg
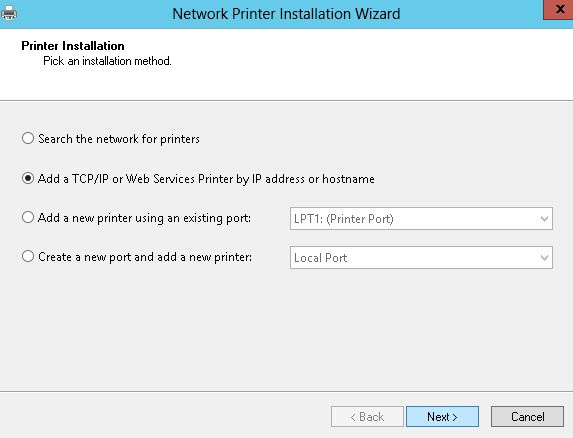
After selecting the second option click on the "Next" button.

Step 4
Now you must provide the "Printer's Network Name or it's I.P Address".
print19.jpg
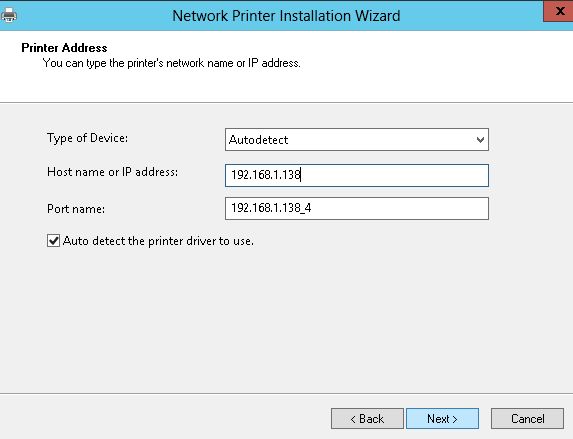
In the "Type of Device" option you can either specify it is TCP/IP or use the Auto-detect option. As you can see I chose the Auto-Detect option.
After providing the IP Address and Type of Device click on the "Next" Button.
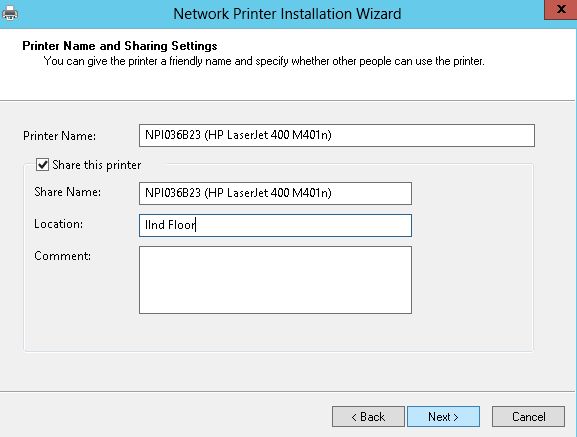
Step 5
Now the Printer's Name and Sharing Option will be opened. The Printer's name will be automatically provided to you. Click on "Sharing" option if you want to share this Printer with many users. If you choose to share this printer then you must provide the location and Share Name for this printer and then click on the "Next" button.
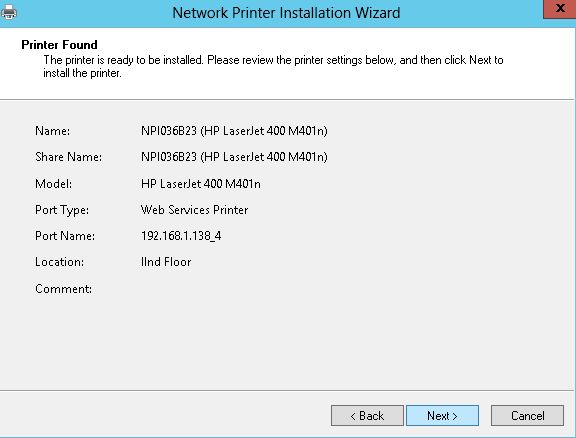
print20.jpg

Step 6
Now your printer will be ready to install and all it's information will be shown to you. Click on the "Next" button after checking all the information for the last time. Clicking the Next Button will install the printer.
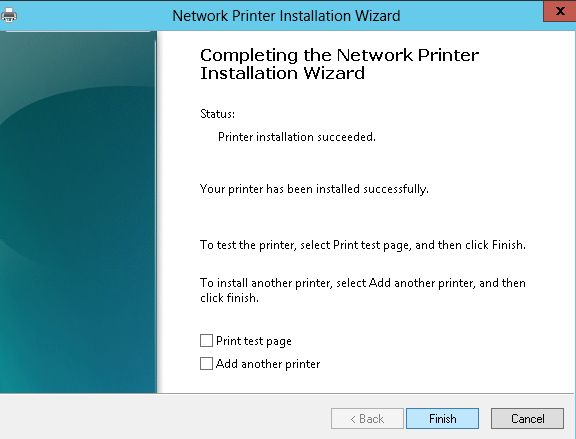
print21.jpg

Step 7
Now your printer will be successfully installed. Click on the "Finish" button to finish the installation.
print22.jpg

Step 8
Now when you go to the Print Management Window you will see that your printer is installed as shown in the management window.
print23.jpg
Now this printer will be shown to all the users connected to your server and they don't need to install the printer separately on their system.

How to install Print server on windows 2012

Introduction
In this article you will learn how to install a Print Server on Windows Server 2012.
Step 1
First of all login to your Windows server 2012 as an Administrator. When your loggin is completed the Server Manager will be opened automatically, if it doesn't open then you must open it manually.

file1.jpg

Now in the Server Manager click on the "Manage" button to open the "Add Roles and Features" to add the new feature.
file2.jpg
Step 2
Now a new window will be opened in which a few instructions are given; click on "Next".
file3.jpg

Step 3
Now it will ask for the "Installation Type" from which you must select the first option and then click on "Next".
file4.jpg

Step 4
Now you must select the server from the Server Pool. Since I have only one server in the Server Pool my server is selected by default.
file5.jpg
After selecting the server, click on "Next".

Step 5
Now a List of Rolls will appear in front of you, from this list you must select the "Print and Document Services".
print1.jpg
Click on this option.

Step 6
As you select the Print and Document Services a new window will be opened that will ask permission to "Add Features". Click on "Add Features" to grant it the permission.
print2.jpg
After selecting the Add Features option, you must click on the "Next" button.

Step 7
Now a list of features will be available for selection, you can select any feature you want to install and then click on "Next" or simply click on "Next" without selecting any feature.
print3.jpg

Now some information will be shown to you about this service, here also you must click on the "Next" button.

print4.jpg

Step 8
Now select the "Roll Services" page which will open. In ot you must select the first option i.e. "Print Server" and then click on "Next".
print5.jpg

Now a confirmation page will be opened, where you can give permission to the server to restart if required or you can click on "Install" without giving permission to restart.
print6.jpg

Now your installation will begin.
print7.jpg

Step 9
If you had provided permission to restart then your server will first restart and then in the Server Manager you will see that your installation is successfully completed. You can get this confirmation by clicking on the Flag given on the upper right hand corner.
file11.jpg

How to Create a Virtual Network in Windows Azure

To create a cloud-only virtual network: 
1.      Log in to the Windows Azure Management Portal.
2.      In the lower left-hand corner of the screen, click New. In the navigation pane, click Network Services, and then click Virtual Network. Click Custom Create to begin the configuration wizard.
3.      On the Virtual Network Details page, enter the following information, and then click the next arrow on the lower right.
o    Name - Name your virtual network. Type XXXLabnetYYY.
o    Affinity Group - From the drop-down list, select Create a new affinity group. Affinity groups are a way to physically group Windows Azure services together at the same data center to increase performance. Only one virtual network can be assigned an affinity group.
o    Region - From the drop-down list, select the desired region. Your virtual network will be created at a datacenter located in the specified region.
o    Affinity Group Name - Name the new affinity group. Type XXXGroupYYY.

4.      On the DNS Servers and VPN Connectivity page, enter the following information, and then click the next arrow on the lower right.
o    DNS Servers-Optional - Enter the DNS server name and IP address that you want to use.
o    Select XXXlabdnsYYY.
o    Do not select the checkbox for point-to-site or site to site connectivity. The virtual network we are creating in this tutorial is not designed for cross-premises connectivity.

5.      On the Virtual Network Address Spaces page, enter the following information and then click the checkmark on the lower right to configure your network. Address space must be a private address range, specified in CIDR notation 10.0.0.0/8, 172.16.0.0/12, or 192.168.0.0/16.
o    Address Space: Click CIDR in the upper right corner, then enter the following:
§  Starting IP: 10.0.0.0
§  CIDR: /20
o    Add subnet: Enter the following:
§  Subnet-1  with the Starting IP 10.0.0.0/24.
§  Verify that you now have subnets created and then click the checkmark on the lower right to create your virtual network.
6.      After clicking the checkmark, your virtual network will begin to create. When your virtual network has been created, you will see Created listed under Status on the networks page in the Management Portal.