
This is the article which will guide you step-by-step installation of Red Hat Enterprise Linux 6 (Santiago) with screenshots. Current stable version is 6.3 (mirror update 3). Red Hat Enterprise Linux is one of the best and stable Linux Operating systems.

Red Hat Enterprise Linux is a Linux-based operating system developed by Red Hat and targeted the commercial market.
The Red Hat Enterprise Linux 6 is available on the following architectures:
Red Hat Enterprise Linux is released in server versions for x86, x86-64 for Itanium, PowerPCand IBM System z, and Desktop versions. Download center for RHEL 6 DVD/CD fromhttps://access.redhat.com/downloads.
There are numbers of new technology and features are added; some of the important features are listed below:
- Ext4 a default filesystem, and the optional XFS filesystem.
- XEN is replaced by KVM (Kernel based Virtualization). However, XEN is supported tillRHEL 5 life cycle.
- Supported future ready Filesystem called Btrfs pronounced “Better F S”.
- Upstart event driven which contains scripts that are only activated when they are needed. With Upstart, RHEL 6 has adopted a new and much faster alternative for the old System V boot procedure.
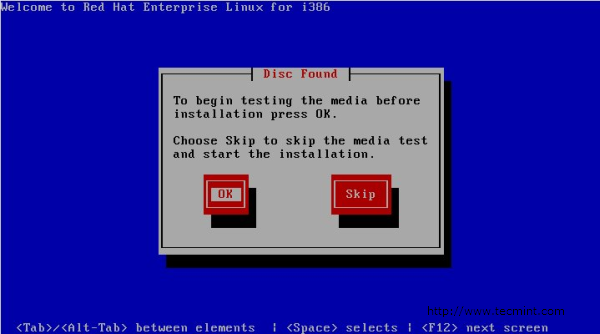
There are number of installation types such as unattended installation called Kickstart, andText-based Installer, I’ve used Graphical Installer. And I have installed it on my testing environment. Please choose packages during installation as per your need. So, let’s get started. Boot Computer Using Red Hat 6 Installation CD/DVD.
Red Hat Enterprise Linux 6 Installation
1. Select Install or upgrade existing system options.

2. Select Language.

3. Select keyboard type.

5. Select storage device.

6. Type computer name or hostname.

7. Select time zone location.

8. Enter password for root user.

9. Select type of installation and review partitioning layout carefully also may choose Encrypt system.

10. Review partitioning layout, modify if needed. I have chosen default setup with Ext4 andLVM.

11. Manually configuration of LVM and RAID storage.

12. Creating partition and formatting filesystems.

13. Configuring boot loader options, also can give boot loader password for security reason.

14. Select applications to install and select customize now.

15. Customize package selections.

16. Installation progress.

17. Installation is completed successfully.

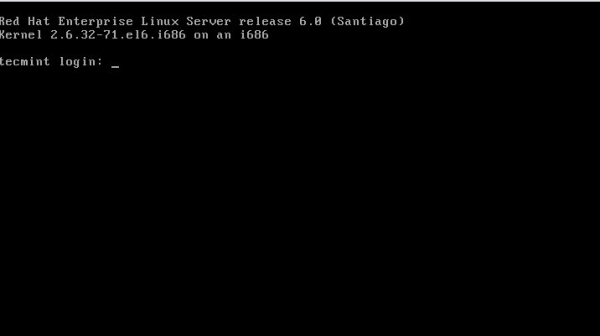
18. Please reboot your computer and login with root credentials as you set in the Step #8.

19. Login Screen.
Liked the article? Sharing is the best way to say thank you !
No comments:
Post a Comment